
Home Improvement

Before You Demo: A Room Renovation Planning Checklist

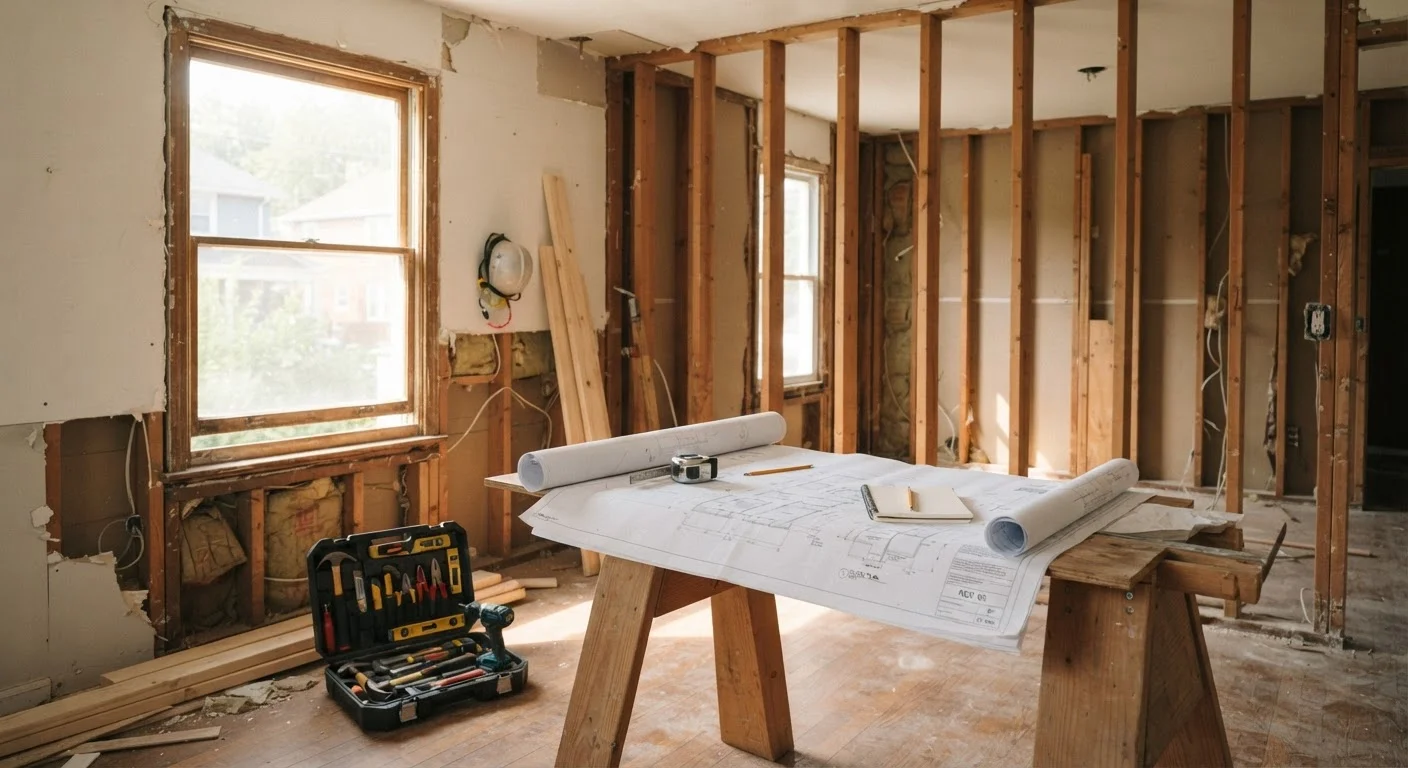
Before You Demo: A Room Renovation Planning Checklist

Photo: AnswersVista.com | Trustworthy Information Every Day editorial

Cover permits, utilities, materials, and timelines before swinging a hammer. Use this checklist to start any renovation project on solid footing.

Key Takeaways

  • Permit requirements vary by project type and municipality — always verify before starting work.
  • Identifying load-bearing walls and utility lines before demolition prevents costly structural and safety mistakes.
  • A realistic materials and labor budget should include a 10–20% contingency buffer for unexpected costs.
  • Contractor vetting, written contracts, and a clear project timeline are non-negotiable for larger renovations.
  • Clearing and protecting adjacent spaces before demo day protects your belongings and speeds up the work.

Why Pre-Demo Planning Makes or Breaks a Renovation

The excitement of a room transformation can make it tempting to start tearing things apart before the planning is done. But the decisions you make in the weeks before demolition — not the days of actual construction — determine whether your project finishes on time, on budget, and up to code.

This checklist walks you through every major category of pre-demo preparation: permits, structural awareness, utilities, materials, contractor coordination, and site protection. Work through it methodically and you'll head into demo day with clarity instead of surprises.

If your renovation involves removing walls, be sure to read our guide to open-concept trade-offs before finalizing your plans. And if you're weighing whether to hire out or DIY specific tasks, our DIY vs. contractor decision framework can help you allocate the work wisely.

Permits & Code Compliance

Contact your local building department to determine which permits are required for your specific scope of work. Must
Submit permit applications and receive approvals before any demolition or structural work begins. Must
Identify whether your project falls under HOA restrictions or historic district guidelines that require additional approvals. Must
Post your permit in a visible location on-site as required by most jurisdictions during active construction. Must

Structural Assessment

Identify all load-bearing walls in the renovation area before planning any removals — consult a structural engineer if uncertain. Must
Have a professional assess any walls, floors, or ceilings that show signs of water damage, sagging, or pest activity. Must
Review original blueprints or as-built drawings if available to understand the existing structural layout. Should

Utilities & Hazardous Materials

Use a stud finder and wire-detection tool to map electrical wiring, plumbing lines, and HVAC ducts inside walls before cutting. Must
Locate your main electrical panel, water shut-off, and gas shut-off valves and confirm they are accessible and functional. Must
Test for lead paint (homes built before 1978) and asbestos-containing materials before any demolition — hire a certified inspector if needed. Must
Arrange for licensed professionals to handle any asbestos abatement, lead remediation, or gas line work. Must
Schedule utility disconnections or temporary rerouting with your contractors before demo day. Should

Budget & Materials

Build a detailed line-item budget covering materials, labor, permits, disposal, and a 10–20% contingency for unexpected costs. Must
Order materials with long lead times — tile, cabinetry, windows, and specialty fixtures — well in advance of the project start date. Should
Confirm delivery windows and storage space for materials arriving before installation day. Should
Create a written scope-of-work document that all contractors can reference to minimize miscommunication. Should

Contractor Coordination

Verify that all contractors are licensed, bonded, and insured in your state before signing any agreement. Must
Get signed written contracts that include scope, payment schedule, timeline, and change-order procedures. Must
Establish a clear project schedule with sequenced trade visits (demo → rough framing → electrical/plumbing → drywall → finishes). Should

Site Preparation

Remove all furniture, décor, and personal belongings from the renovation space and any directly adjacent rooms. Must
Seal off doorways and HVAC vents with plastic sheeting to contain dust and debris from spreading through the home. Should
Arrange a debris disposal plan — dumpster rental, haul-away service, or municipal bulk pickup — before demo begins. Should
Photograph the existing room from multiple angles to document conditions before work starts. Nice to have

How to Use This Checklist

Print this checklist or work through it digitally before scheduling demolition. Each item is categorized as must (non-negotiable for safety or code compliance), should (strongly recommended to avoid common problems), or nice to have (adds efficiency or peace of mind). Tackle the must items first — none of them should be skipped.

Required

Stud finder with electrical detection

Locates wall studs, live wires, and plumbing pipes inside walls before cutting to prevent damage or injury.

Required

Lead paint test kit

Screens painted surfaces for lead content — essential in homes built before 1978 prior to any sanding or demolition.

Required

Plastic sheeting and painter's tape

Seals doorways and vents to contain construction dust and protect the rest of the home during demo.

Optional

Digital camera or smartphone

Documents pre-renovation conditions, wall openings, and utility locations for reference throughout the project.

Optional

Project management app or printed schedule

Tracks task sequencing, contractor visits, material delivery dates, and permit inspection windows.

Permits deserve their own focused attention. For a detailed breakdown of which projects typically require permits and what happens if you skip them, see our article on home renovation permits.

Never Demo Before Permits Are Approved

Starting demolition before receiving permit approval — even just removing drywall — can result in fines, mandatory stop-work orders, and requirements to restore work to its original state. Unpermitted work can also complicate a future home sale or insurance claim. Always wait for written approval from your building department before breaking ground.

Once the room is cleared and work is underway, you may find that adjacent spaces need attention too. Our room-by-room organization checklist can help you reset the rest of your home while one room is under construction.

Asbestos and Lead Are Serious Health Hazards

Homes built before 1980 may contain asbestos in floor tiles, insulation, drywall compound, and ceiling texture, as well as lead-based paint on walls and trim. Disturbing these materials without proper testing and abatement can expose your household to significant health risks. Do not proceed with demolition in older homes until a certified inspector has cleared the materials or a licensed abatement contractor has addressed them.

Home & Garden Editorial Team

AnswersVista.com | Trustworthy Information Every Day

Home & Garden Editorial Team is the collective byline for our editorial team and contributor network. Articles published under this byline or an editorial pen name are researched, written, and reviewed according to our editorial standards for clarity, consistency, and independence before publication.

Home ImprovementLawn & GardenHome Organization
View author profile

The content provided on our blog site traverses numerous categories, offering readers valuable and practical information. Readers can use the editorial team’s research and data to gain more insights into their topics of interest. However, they are requested not to treat the articles as conclusive. The website team cannot be held responsible for differences in data or inaccuracies found across other platforms. Please also note that the site might also miss out on various schemes and offers available that the readers may find more beneficial than the ones we cover.