
Painting a Room: Surface Prep, Priming, and Technique

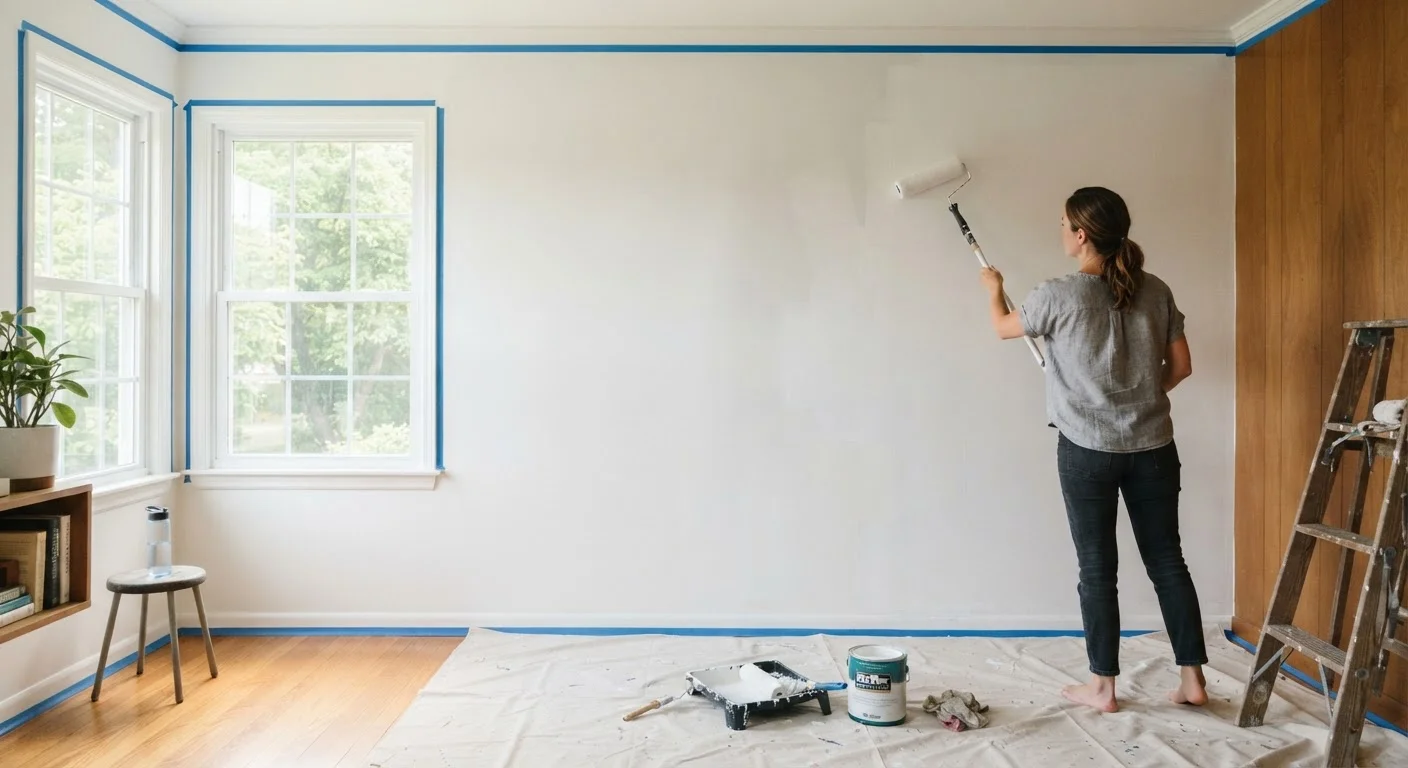
Photo: AnswersVista.com | Trustworthy Information Every Day editorial
Key Takeaways
- Surface prep - cleaning, patching, and sanding - is the most important step for a lasting paint job.
- Primer is essential when painting over dark colors, bare drywall, stains, or new patches.
- Cutting in before rolling and maintaining a wet edge prevents visible lap marks.
- Two thin coats of paint almost always outperform one thick coat.
- Proper ventilation and drying time between coats protect both the finish and your health.
Why Prep Work Makes or Breaks the Paint Job
Most paint failures - peeling, bubbling, uneven sheen - trace back to skipped prep steps rather than the paint itself. Before a single drop of primer goes on, the wall surface needs to be clean, stable, and smooth. Rushing past this phase is the single most common mistake homeowners make.
If you're tackling this as part of a broader renovation, a solid planning checklist helps you sequence the work correctly. See our room renovation planning guide for help coordinating trades, timelines, and materials before you start.
What you will need
Once you have everything assembled, work through the room systematically: patch first, sand second, clean third. This order matters because patching compounds raise dust that settles on surfaces you've already cleaned.
Understanding When and How to Prime
Primer serves two distinct purposes: it seals the surface and gives topcoat paint something uniform to grip. You always need primer in these situations: painting over bare or patched drywall, covering a dark color with a lighter one, dealing with water stains or smoke residue, or painting previously unpainted wood or plaster.
On already-painted walls in good condition where you're staying within the same color family, a quality self-priming paint may suffice - but a dedicated primer still tends to deliver better hide and adhesion. Use a tinted primer (ask a paint counter to tint it toward your topcoat color) when making a dramatic color change; this reduces the number of finish coats required.
Choose the Right Sheen for the Room
Apply primer with the same cut-in-then-roll technique you'll use for paint (see steps below). Allow full drying time per the manufacturer's label - typically one to two hours for latex primers - before lightly sanding with 220-grit paper and wiping away dust before the topcoat.
Application Technique: Cutting In, Rolling, and Getting a Smooth Finish
Good technique is about controlling the wet edge - the boundary between painted and unpainted surface. If that edge dries before you blend into it, you'll see a visible lap line in raking light.
Clear, cover, and protect the room
Move furniture to the center and cover it with drop cloths. Remove outlet covers, switch plates, and any wall fixtures. Lay drop cloths flat along all baseboards - canvas holds better than plastic sheeting underfoot and won't shift as you move.
Patch holes and cracks
Fill nail holes and small dings with lightweight spackling compound using a putty knife. For cracks wider than a hairline, use setting-type compound and apply mesh tape before covering with compound. Let dry completely, then sand smooth starting with 120-grit and finishing with 220-grit. Feather the edges so the patch blends flush with the surrounding wall.
Clean the walls thoroughly
Wash walls from top to bottom using a TSP substitute or mild detergent solution and a sponge. Pay extra attention to areas near the stove, around light switches, and along baseboards where grease and grime accumulate. Rinse with clean water and allow the walls to dry completely - at minimum several hours, preferably overnight.
Apply painter's tape
Press tape firmly along trim, ceiling lines, and any surface you want to protect. Run a putty knife or your fingernail along the tape edge to seat it - this prevents paint from bleeding underneath. Apply tape just before you paint, not days ahead, to minimize residue.
Prime the surface
Cut in along edges with an angled brush first, then roll the field of the wall in overlapping W or M patterns. Work in manageable sections (roughly 3-4 feet wide) to keep edges wet. Allow primer to dry per the label, then lightly sand with 220-grit and wipe away dust with a tack cloth or lightly dampened rag.
Cut in the first coat of paint
Load an angled brush and cut a 2-3 inch band along all edges: ceiling line, trim, corners, and around outlets. Work one wall at a time so the cut-in edge stays wet when you roll. Avoid overloading the brush - multiple lighter passes give a cleaner line than one heavy stroke.
Roll the first coat
Load the roller evenly, remove excess on the tray's ridged ramp, and apply in a W or M pattern about 3 feet wide before filling in with vertical strokes. Blend immediately into the wet cut-in band. Maintain consistent pressure and overlap each pass by a few inches to avoid ridges.
Allow to dry, then apply the second coat
Let the first coat dry fully - check the paint can for recoat time, typically two to four hours for latex paint, though humidity and temperature affect this. Lightly inspect for missed spots or thin areas. Apply the second coat using the same cut-in-then-roll sequence. Two full coats on primed surfaces produce an even, durable finish.
After the final coat, remove painter's tape while the paint is still slightly tacky (not fully dry). Pulling tape off fully cured paint can lift the edge. Score along the tape line with a utility knife if it has been on for more than 24 hours.
Once the room is painted and reorganized, it's a good moment to rethink how the space functions. Our complete room organization guide offers room-by-room storage and decluttering strategies to make the freshly painted space work harder for you.
Ventilate the Room While Painting
The content provided on our blog site traverses numerous categories, offering readers valuable and practical information. Readers can use the editorial team’s research and data to gain more insights into their topics of interest. However, they are requested not to treat the articles as conclusive. The website team cannot be held responsible for differences in data or inaccuracies found across other platforms. Please also note that the site might also miss out on various schemes and offers available that the readers may find more beneficial than the ones we cover.