
Grout vs. Caulk: Choosing the Right Filler for Every Joint

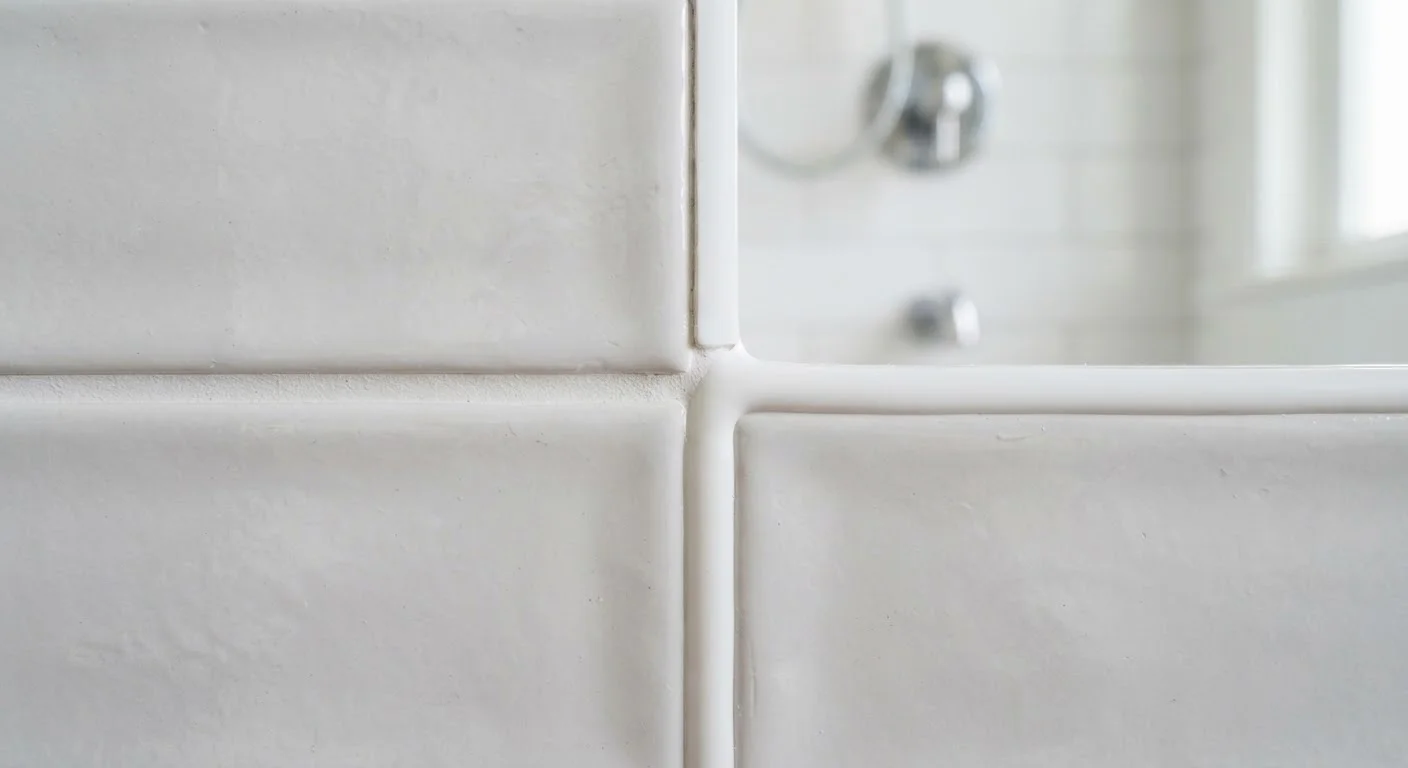
Photo: AnswersVista.com | Trustworthy Information Every Day editorial
Key Takeaways
- Grout is rigid and belongs in field joints between tiles on flat, stable surfaces.
- Caulk is flexible and must be used wherever two surfaces meet at a change in plane or angle.
- Using grout in movement joints causes cracking; caulk cannot replace grout in large field joints.
- Corners, tub ledges, and floor-to-wall transitions always require caulk, not grout.
- Color-matched caulk blends with grout so the transition is nearly invisible.
- Skipping caulk at movement joints is one of the most common causes of tile failure.
What Each Material Is Actually Made to Do
Grout and caulk are both used to fill gaps in tile work, but their formulations serve opposite structural purposes. Understanding that difference is the foundation of a durable tile installation.
Grout is a cement-based (or epoxy-based) filler designed to harden completely. Once cured, it becomes rigid, which is exactly what you want between tiles on a flat surface - it resists compression, holds its shape, and distributes load evenly across the installation. It is not designed to flex, and it won't tolerate movement without cracking.
Caulk is a silicone, latex, or hybrid polymer sealant that cures to a rubbery, flexible state. It can compress and stretch without breaking its bond. That elasticity is critical in areas where two surfaces expand, contract, or shift relative to each other. Without that give, any filler - including grout - will eventually crack and allow water behind the tile.
The most important concept in tile work is the movement joint: any location where two separate planes of material meet, where a surface transitions from one substrate to another, or where expansion and contraction forces concentrate. Movement joints must always be filled with caulk. See our guide to flat, level, and lasting tile installations for more on how substrate movement affects grout over time.
| Criterion | Grout | Caulk |
|---|---|---|
| Material composition | Cement- or epoxy-based | Silicone, latex, or hybrid polymer |
| Flexibility when cured | Rigid - no give | Flexible - stretches and compresses |
| Best joint location | Between tiles on flat surfaces | Corners, transitions, changes in plane |
| Water resistance | Moderate (needs sealing) | High - especially silicone |
| Handles movement | No - cracks under movement | Yes - designed for movement joints |
| Appearance in field joints | Correct - professional result | Wrong - discolors and looks unfinished |
| Typical application tool | Grout float | Caulk gun |
Where Each Material Belongs - and What Goes Wrong When You Swap Them
The tile industry's general guideline is straightforward: grout in the field, caulk at the changes. Applying it correctly comes down to recognizing a few specific joint types before you open either container.
Always Use Grout
- Field joints - the gaps between tiles across a flat floor or wall surface
- Backsplash tile-to-tile joints on a single, stable surface
Always Use Caulk
- Inside corners where two tiled walls meet
- Tub and shower ledges - the horizontal joint where a tiled wall meets a tub deck
- Floor-to-wall transitions in wet areas
- Wherever tile meets a different material - a wood threshold, a window frame, or a countertop edge
What Failure Looks Like
If grout is placed in a movement joint, it will crack - sometimes within a single heating season as the structure expands and contracts. That crack isn't cosmetic; it's a water entry point. Moisture behind tile leads to mold, damaged substrate, and eventually failed adhesion. Conversely, using caulk across a large field joint looks wrong, stains easily, and lacks the compressive strength to hold up under foot traffic or the weight of large-format tiles.
A Note on Color Matching
For a deeper look at what happens specifically at tub surrounds, our guide on bathtub caulking mistakes covers the most common failure points and how to prevent them.
Choosing the Right Product and Getting a Clean Finish
Once you know where each material belongs, choosing the right specific product is straightforward.
⅛"
Joint width dividing sanded vs. unsanded grout
Industry standard from the Tile Council of North America: joints under ⅛ inch use unsanded grout; wider joints require sanded grout to prevent shrinkage cracking.
24-48 hrs
Typical caulk cure time before water exposure
Most silicone and siliconized latex caulks require 24 to 48 hours of dry time before the joint can be exposed to water; always verify the manufacturer's specific instructions.
For Grout
Unsanded grout is used for joints under ⅛ inch wide. Sanded grout handles joints ⅛ inch and wider. Epoxy grout offers superior stain and chemical resistance but has a shorter working time and a steeper learning curve - it's best suited for countertops and commercial applications rather than typical residential floors.
For Caulk
In wet areas like showers and tubs, use 100% silicone or a siliconized latex caulk rated for kitchen and bath. Pure silicone bonds exceptionally well to non-porous surfaces and resists mold, but it's harder to tool smoothly and requires mineral spirits for cleanup. Siliconized latex (sometimes called "paintable silicone") is easier to work with and cleans up with water, making it a practical choice for most homeowners.
Most grout manufacturers offer color-matched caulk for their grout lines, so the transition from grouted field joints to caulked corners is nearly invisible once cured. This is worth seeking out - it produces a professional-looking result without any extra effort.
Tooling for a Clean Bead
Whether you're grouting or caulking, proper joint preparation matters. Remove all loose material, ensure the surface is dry, and - for caulk - apply painter's tape on both sides of the joint before laying the bead. Tool the bead with a dampened finger or a caulk-finishing tool, then pull the tape while the caulk is still wet. The result is a crisp, clean line that holds up far longer than a rough, untooled bead.
The content provided on our blog site traverses numerous categories, offering readers valuable and practical information. Readers can use the editorial team’s research and data to gain more insights into their topics of interest. However, they are requested not to treat the articles as conclusive. The website team cannot be held responsible for differences in data or inaccuracies found across other platforms. Please also note that the site might also miss out on various schemes and offers available that the readers may find more beneficial than the ones we cover.