
Why Caulking a Bathtub Seems Easy - And Where It Goes Wrong

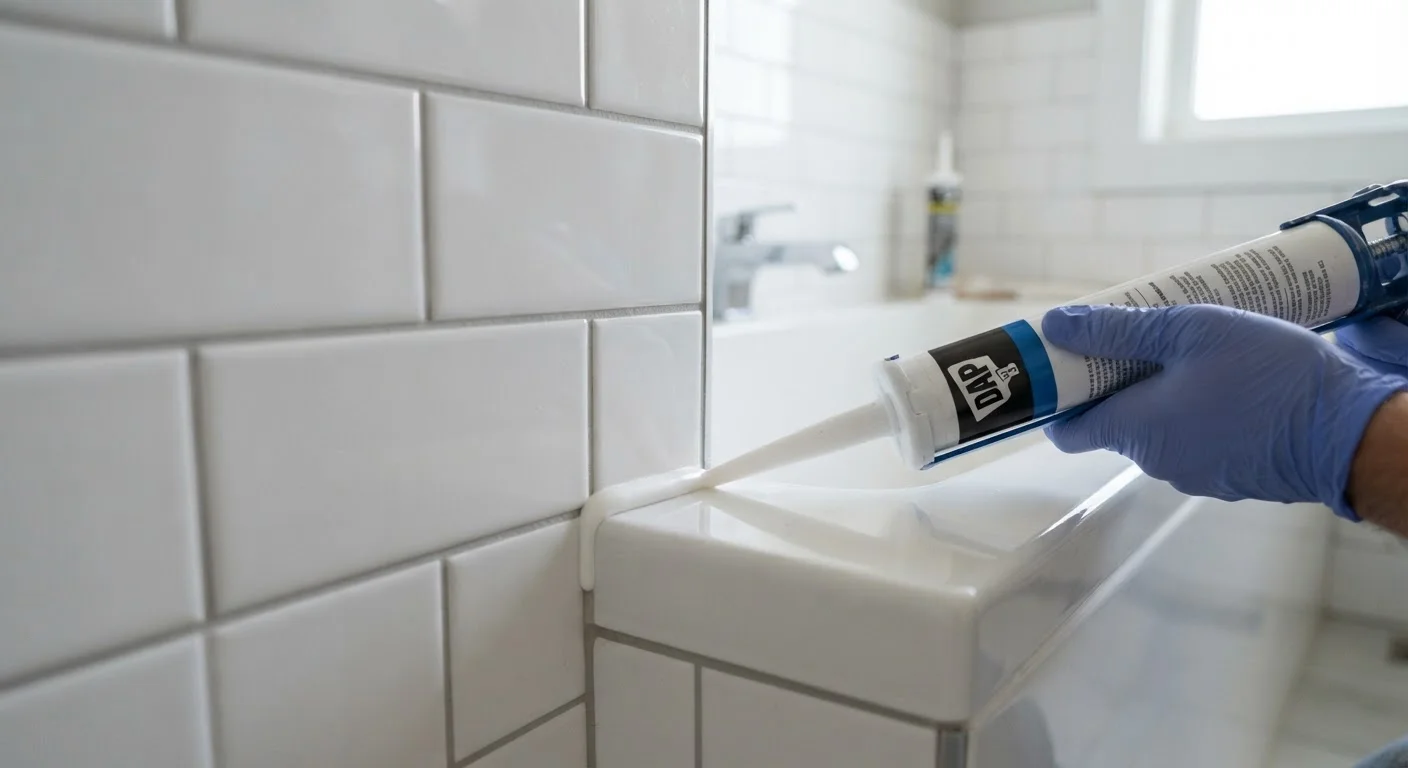
Photo: AnswersVista.com | Trustworthy Information Every Day editorial
Key Takeaways
- Skipping surface prep - especially moisture - is the single most common cause of caulk failure.
- Old caulk must be fully removed before applying a new bead, or adhesion will fail quickly.
- Bathtubs flex under weight, so only flexible, tub-rated caulk should be used at the tub-wall joint.
- Caulk needs adequate cure time before the tub is used - often 24 hours or more.
- Mold growing beneath a fresh bead usually means the surface wasn't dry or clean when sealed.
Why Bathtub Caulking Fails More Often Than It Should
Bathtub caulking looks like a ten-minute fix. Squeeze a tube, run a bead, smooth it with a finger, and you're done. In practice, a caulk joint that holds up for years requires attention to surface conditions, material selection, and timing - none of which are obvious from the back of a caulk tube. When those steps are skipped, the result isn't just cosmetic: peeling caulk lets water creep behind tile or into the wall cavity, where it silently causes mold and structural damage.
Understanding where the process goes wrong - and why - is what separates a joint that lasts two months from one that lasts five years. For context on which material belongs in which joint, see our guide on grout vs. caulk before you start.
Applying new caulk directly over old caulk without removing it first.
Caulking over a damp or recently used surface.
Using the wrong type of caulk for a tub-wall joint.
Skipping mold and mildew cleaning before sealing.
Running too large a bead or leaving gaps in coverage.
Using the tub before the caulk has fully cured.
Getting It Right From the Start
Most caulk failures trace back to the first ten minutes of a job - specifically, to what didn't happen before the tube was opened. The surface must be dry, clean, and free of old caulk residue. That means allowing the tub surround to air out for at least 24 hours after the last shower, wiping down with a mildew-killing cleaner, and letting it dry completely before applying anything new.
24-48 hrs
Minimum cure time before tub use
Most tub-and-tile caulk manufacturers specify at least 24 hours of cure time; silicone formulas in humid bathrooms may need up to 48 hours for full adhesion.
~1-3 years
Typical lifespan of properly applied tub caulk
According to general home maintenance guidance, a correctly prepped and applied caulk bead in a regularly used tub surround generally lasts one to three years before needing inspection or replacement.
After application, give the caulk adequate cure time before the tub sees water. Most tub-and-tile caulks specify at least 24 hours; some silicone formulas benefit from 48. Running a shower two hours after sealing is one of the most reliable ways to ruin a fresh bead. Bathtub caulk is also a maintenance item worth adding to a seasonal inspection list - it's easy to overlook until water damage becomes obvious. Our article on seasonal maintenance walk-throughs covers it among other commonly missed spots.
Approaching the job methodically - prep, correct material, clean application, full cure - turns a task that commonly fails into one that reliably succeeds.
The content provided on our blog site traverses numerous categories, offering readers valuable and practical information. Readers can use the editorial team’s research and data to gain more insights into their topics of interest. However, they are requested not to treat the articles as conclusive. The website team cannot be held responsible for differences in data or inaccuracies found across other platforms. Please also note that the site might also miss out on various schemes and offers available that the readers may find more beneficial than the ones we cover.