
Home Improvement

Keeping a Tile Installation Flat, Level, and Lasting

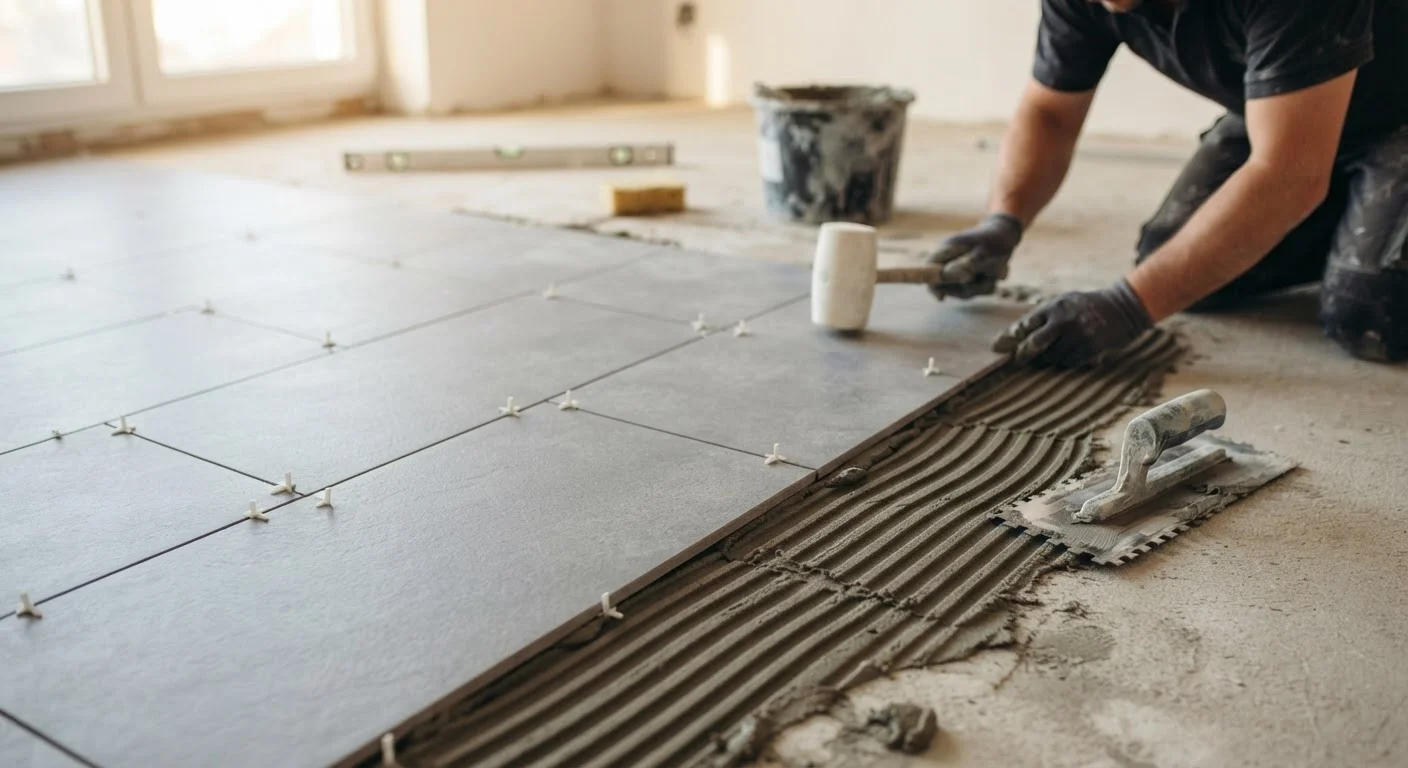
Keeping a Tile Installation Flat, Level, and Lasting

Photo: AnswersVista.com | Trustworthy Information Every Day editorial

Lippage, cracked grout, and hollow spots are signs of installation shortcuts. These foundational practices help tile jobs stand the test of time.

Key Takeaways

  • A flat, properly prepared substrate is the single most important factor in a lasting tile installation.
  • Full mortar coverage beneath each tile prevents hollow spots, cracking, and eventual failure.
  • Lippage — uneven tile edges — is largely preventable through consistent layout planning and leveling systems.
  • Movement joints filled with caulk, not grout, allow for natural expansion and prevent crout cracking.
  • Allowing adequate cure time before grouting and foot traffic protects the entire installation.

Why Tile Fails — And How to Prevent It

Walk across a tiled floor and hear a hollow knock under your foot, or notice grout cracking within a year of installation, and you're seeing the result of skipped fundamentals. Tile is one of the most durable finish surfaces available, but only when it's installed correctly from the substrate up. Most tile failures trace back to a handful of consistent root causes: poor substrate preparation, inadequate mortar coverage, improper layout, and missing movement joints.

Understanding what makes a tile installation fail is the first step toward doing it right — or evaluating whether a contractor has done so. The practices below address each of these failure points directly.

Core Best Practices for a Flat, Lasting Tile Job

These proven practices apply whether you're tiling a bathroom floor, a kitchen backsplash, or an entryway. Some are about preparation; others are about execution and patience.

1

Flatten and solidify the substrate before laying a single tile.

Tile is rigid and unforgiving — it will conform to whatever surface it's bonded to. High spots cause lippage and rocking; soft or flexible substrates flex under load and crack both tile and grout. A substrate that varies more than 3/16 inch over a 10-foot span is generally considered out of tolerance for most tile installations.
Example: On a wood subfloor, this often means adding a layer of cement backer board fastened at the correct intervals, or applying a floor-leveling compound to concrete that has settled unevenly.
2

Use the correct trowel notch size for the tile format and back-butter larger tiles.

Mortar coverage below 80% leaves voids where water can pool and freeze-thaw cycles can break the bond. Larger-format tiles — anything over 15 inches on any side — are especially prone to hollow spots when installers use trowels sized for smaller tile. Industry guidance generally calls for at least 95% coverage in wet areas.
Example: A 24×24-inch porcelain slab typically requires a 1/2-inch square-notch trowel on the substrate, plus back-buttering the tile itself to ensure full contact across its entire surface.
3

Plan your layout from the center out and dry-lay before committing to mortar.

Starting from a wall or corner often results in awkward, slivers of cut tile in highly visible areas. Dry-laying the full field lets you identify layout issues, adjust for symmetry, and confirm your reference lines before mortar is involved — saving considerable rework.
Example: In a bathroom, finding the center of the floor and snapping chalk lines at 90 degrees lets you adjust the layout so cut tiles at opposite walls are equal in width and no cut is smaller than half a tile.
4

Install tile leveling clips or wedges for large-format tile to eliminate lippage.

Even a perfectly flat substrate and correct mortar coverage can result in slight edge variation across large tiles due to warpage in the tile itself (called 'bow' or 'warpage'). Leveling systems mechanically hold tile edges coplanar during the cure period, eliminating the uneven edges that become trip hazards and visual distractions.
Example: Clip-and-wedge systems are installed at tile corners before mortar sets; the wedges are tapped in to align adjacent tile edges, then snapped off flush after the mortar cures.
5

Leave movement joints at perimeters, columns, and changes in plane — and fill them with caulk, not grout.

All buildings move — seasonal temperature changes, humidity, and structural settling create forces that grout cannot absorb. Grout is rigid and will crack if used where movement is expected. Flexible caulk in these joints accommodates that movement without failing. Our guide to grout vs. caulk explains exactly where each material belongs.
Example: Along the base of a tiled wall where it meets a tiled floor, a 1/8-inch gap filled with color-matched silicone caulk prevents the cracked grout line that almost always appears in this location within a few years of installation.
6

Allow full mortar cure time before grouting, and allow grout to cure before introducing moisture.

Rushing either cure stage compromises the bond and the grout's final hardness. Most polymer-modified mortars require 24 hours of cure before grouting, and grout typically needs 48–72 hours before exposure to water — though product instructions should always be the governing standard.
Example: In a shower installation, applying water or using the shower within the first 24 hours of grouting can wash cement components out of the grout mix, leaving a weak, porous surface prone to staining and early failure.

For joints between tile and fixtures, walls, or changes in plane, see our guide on when to use grout versus caulk — getting that distinction right prevents some of the most common tile failures.

Quick Actions That Make a Real Difference

Even experienced DIYers sometimes cut corners under time pressure. The actions below are simple to implement and carry an outsized impact on the finished result.

high Check your subfloor for squeaks and flex before buying any tile — walk the area and press down firmly. Any movement means the subfloor needs reinforcement before tile goes down.
medium Mix thinset mortar to a peanut butter consistency and let it slake (rest) for 10 minutes after initial mixing before using it — this fully activates the polymers and improves adhesion.
high After pressing each tile into place, lift one tile from every dozen to inspect the mortar transfer on its back. If you see bare spots, adjust your trowel technique immediately.
medium Seal natural stone and unglazed tile with an appropriate penetrating sealer before grouting to prevent grout from staining the tile face permanently.

Keeping Your Tile Looking Good Long-Term

A correctly installed tile surface should last decades with minimal maintenance. The grout lines are the most vulnerable element over time — they can absorb stains, harbor mildew, and crack if underlying movement goes unaddressed. Sealing grout annually in wet areas and inspecting caulk lines around tubs, showers, and toilet bases at each seasonal walk-through catches problems before they escalate. Our guide on spots homeowners overlook during maintenance walk-throughs covers where these inspections matter most.

When hollow spots or cracked tiles do appear, address them promptly. A single failed tile that's left in place can allow water infiltration, which undermines the mortar bed and substrate beneath neighboring tiles — turning a minor repair into a major one. The broader principle applies throughout the home: staying current with routine upkeep nearly always costs less than deferred repair.

This article provides general home improvement information for educational purposes. For projects involving structural substrates, waterproofing in wet areas, or large-scale tile work, consult a licensed tile contractor or flooring professional to ensure your installation meets local building codes and manufacturer requirements.

Home & Garden Editorial Team

AnswersVista.com | Trustworthy Information Every Day

Home & Garden Editorial Team is the collective byline for our editorial team and contributor network. Articles published under this byline or an editorial pen name are researched, written, and reviewed according to our editorial standards for clarity, consistency, and independence before publication.

Home ImprovementLawn & GardenHome Organization
View author profile

The content provided on our blog site traverses numerous categories, offering readers valuable and practical information. Readers can use the editorial team’s research and data to gain more insights into their topics of interest. However, they are requested not to treat the articles as conclusive. The website team cannot be held responsible for differences in data or inaccuracies found across other platforms. Please also note that the site might also miss out on various schemes and offers available that the readers may find more beneficial than the ones we cover.