
Crate Training Done Right: Turning a Crate Into a Safe Space

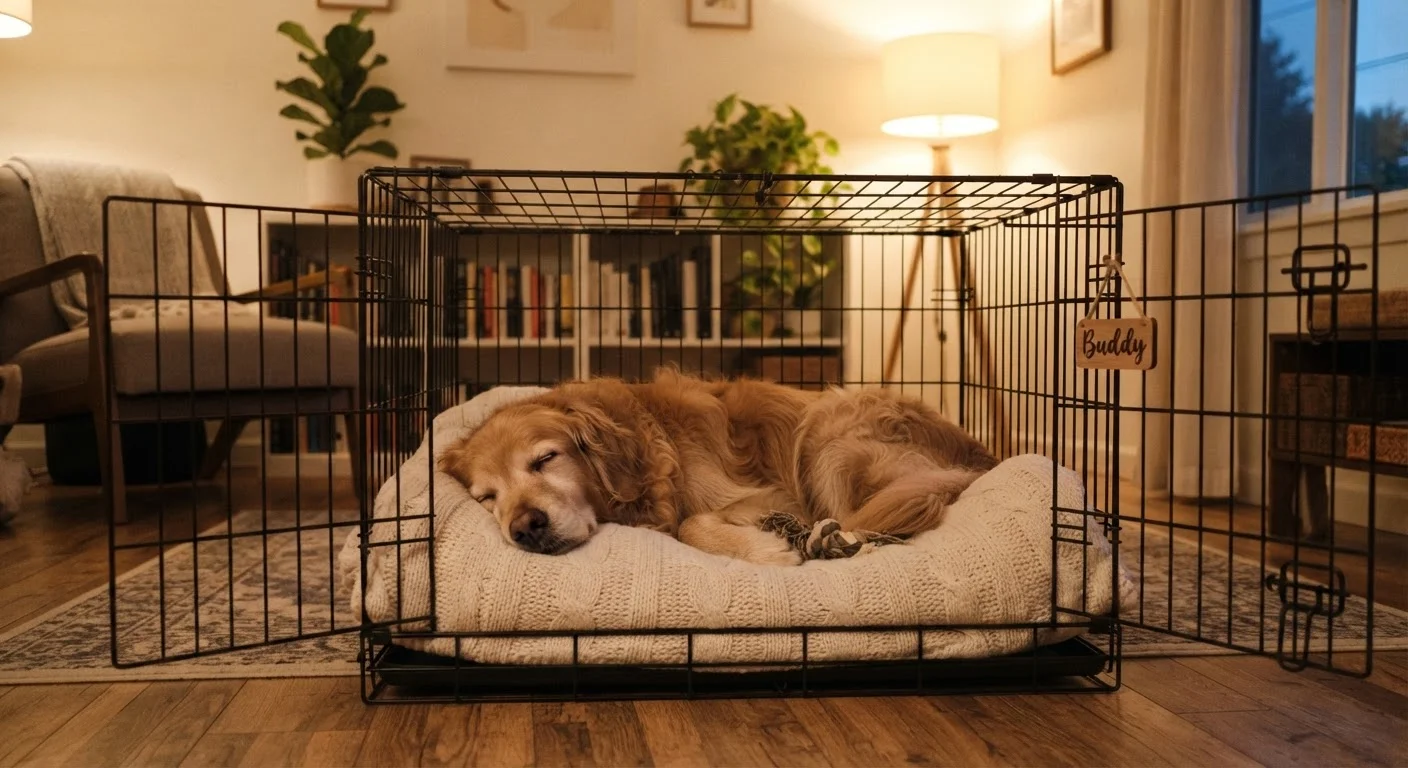
Photo: AnswersVista.com | Trustworthy Information Every Day editorial
Key Takeaways
- Crate training works best when introduced gradually using positive associations, not force.
- Never use the crate as punishment - it must remain a neutral or positive space.
- Most dogs accept a crate willingly within one to two weeks of consistent, patient training.
- Crate size matters: your dog should be able to stand, turn around, and lie down comfortably.
- Short, rewarded sessions build confidence faster than long, stressful introductions.
Why Crate Training Works - and What It Isn't
A crate, when introduced correctly, taps into a dog's natural instinct to seek out small, enclosed spaces for rest and security. It is not a cage and it is not a punishment tool - it's a structured way to give your dog their own defined space in a busy household. Dogs who are comfortable in their crates tend to be calmer overall, easier to manage during vet visits or travel, and less prone to destructive behavior when unsupervised.
If you're starting from scratch with a new dog, this approach pairs well with the broader guidance in our beginner's guide to training a dog from day one. Many well-meaning owners also unknowingly undermine early training with habits covered in common new pet owner pitfalls - it's worth a quick read before you begin.
Crate training requires patience. Most dogs take one to two weeks to feel genuinely comfortable; some may take longer, particularly dogs with prior negative experiences. Rushing the process is the single most common reason it fails.
Never Use the Crate as Punishment
What You'll Need Before You Start
Getting the setup right before your dog ever sees the crate makes the entire process smoother. Use the checklist below to confirm you have the right materials and environment in place.
What you will need
Dog crate (appropriately sized)
Provides the physical space your dog will learn to associate with comfort and security.
Soft bedding or crate mat
Makes the crate floor comfortable and inviting for your dog to rest in.
High-value treats
Used to reward calm, voluntary entry and positive associations with the crate.
Chew toy or stuffed food toy
Keeps your dog occupied and content during early closed-door sessions.
Blanket for crate cover
Creates a den-like atmosphere that helps some dogs feel more secure.
If you want a complete pre-training setup checklist beyond crate-specific tools, see our preparation checklist for your first training session.
Step-by-Step Crate Introduction
Follow these steps in order, resisting the urge to skip ahead. Each step builds on the last, and your dog's comfort - not a calendar - should set the pace.
Choose and position the crate correctly
Place the crate in a room where your family spends time - a living room or bedroom works well. Dogs are social animals, and isolation makes crate training harder. Remove the door entirely or prop it open so your dog can approach freely without feeling trapped. Add a soft mat or blanket to the floor of the crate before any introduction begins.
Let your dog explore at their own pace
Do not push, coax, or lure your dog inside on the first introduction. Simply sit near the crate and let curiosity do the work. Toss a few treats near the opening, then just inside the entrance. If your dog sniffs the crate and walks away, that's fine - end the session and try again in an hour. Repeat this several times across the first day.
Reward any voluntary entry with calm praise
Once your dog begins stepping inside on their own - even just placing their front paws in - mark the moment with a quiet "yes" and deliver a treat. Keep your tone calm rather than excited, which can cause your dog to pop back out immediately. Gradually reward deeper entries: front paws, then fully inside, then lingering inside for a few seconds.
Feed meals at the crate threshold, then inside
Mealtimes are a powerful tool. Start by placing your dog's food bowl just outside the crate opening. Over the next few meals, move it progressively inside - first just at the entrance, then halfway in, then fully inside at the back. By the time your dog is eating comfortably with all four paws inside, you've built a strong positive association with the space.
Introduce closing the door briefly
Once your dog is eating full meals calmly inside the crate, begin closing the door while they eat - and open it as soon as they finish. Gradually extend the time the door stays closed by a minute or two each session. Stay nearby and visible during this phase so your dog does not feel abandoned. If whining begins, wait for a pause before opening, so you reward quiet rather than distress.
Build duration gradually with you in the room
With the door closed and your dog settled, begin stepping away briefly - a few feet at first, then out of sight for short intervals. Return before your dog shows signs of distress. Build duration slowly: five minutes, then ten, then thirty, over several days. Rushing this step is one of the most common mistakes in crate training.
Practice crating when you leave the house
Only once your dog is consistently calm during indoor sessions should you begin crating them when you leave. Keep early departures short - under 30 minutes - and vary your departure routine so the crate is not always associated with you leaving for long periods. Return calmly, without fanfare, to keep arrivals and departures low-key.
Cover the Crate for a Den-Like Feel
Troubleshooting Common Setbacks
Even with careful training, setbacks happen. Here are the most frequent problems owners encounter and what to do about them:
- Whining when the door closes: You've likely moved too fast. Return to shorter durations and rebuild gradually. Never open the door while your dog is actively whining, as this teaches them that noise gets them out.
- Refusing to enter the crate at all: Go back to tossing treats near the entrance and avoid any pressure. Some dogs need several days of exploration before they'll step inside willingly.
- Anxiety escalating over time: If distress seems to be increasing rather than decreasing after two or more weeks of consistent work, consult your veterinarian or a certified applied animal behaviorist. Separation anxiety can sometimes be mistaken for slow progress - a professional can help distinguish between the two.
It also helps to check whether your training approach is grounded in current evidence. Our article on persistent pet training myths addresses several misconceptions that can interfere with crate training specifically.
Avoid Leaving Young Dogs Too Long
The content provided on our blog site traverses numerous categories, offering readers valuable and practical information. Readers can use the editorial team’s research and data to gain more insights into their topics of interest. However, they are requested not to treat the articles as conclusive. The website team cannot be held responsible for differences in data or inaccuracies found across other platforms. Please also note that the site might also miss out on various schemes and offers available that the readers may find more beneficial than the ones we cover.