
Weatherproofing a Home: Sealing Air Leaks That Drive Up Energy Bills

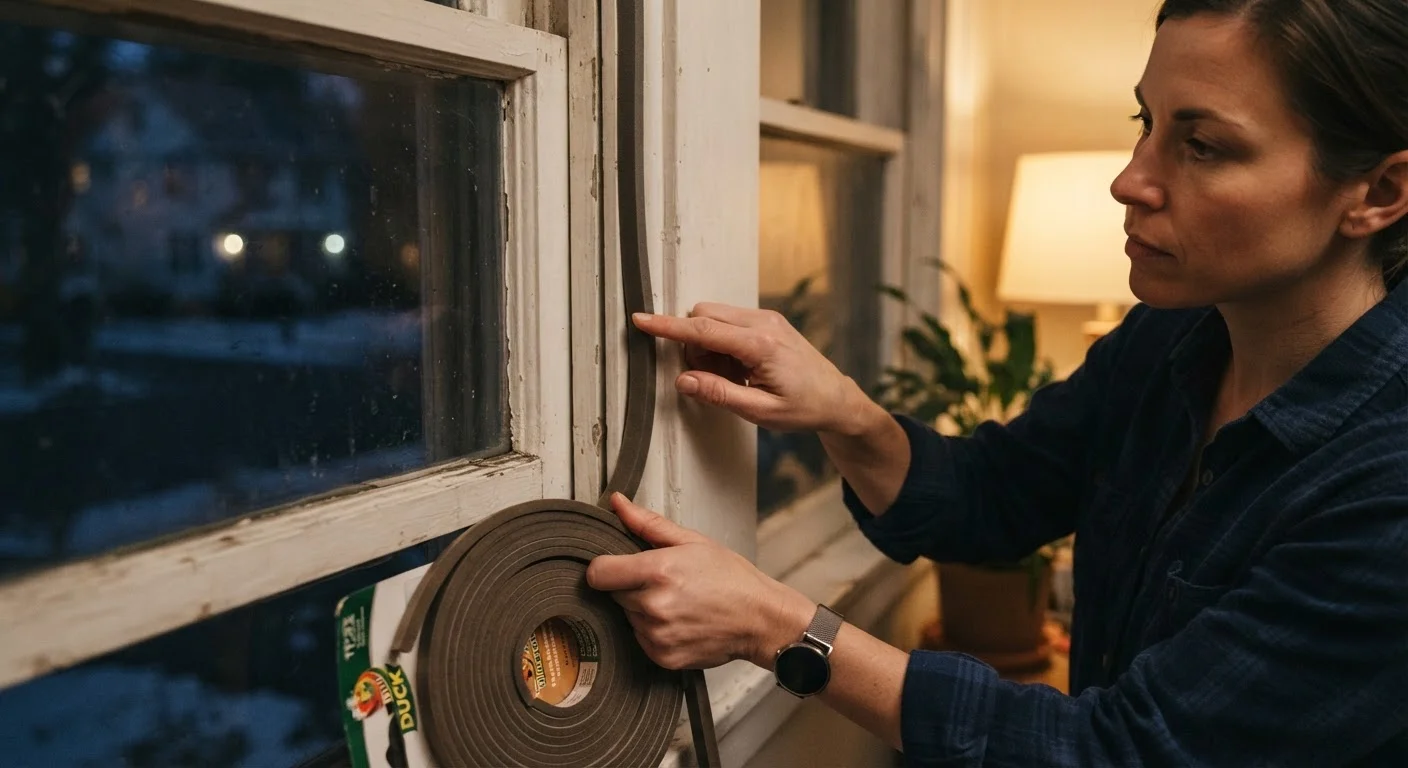
Photo: AnswersVista.com | Trustworthy Information Every Day editorial
Key Takeaways
- Air leaks can account for 25-40% of heating and cooling energy loss in a typical home.
- The attic floor, rim joists, and around window frames are among the most impactful places to seal.
- Caulk works best for stationary gaps; weatherstripping is designed for movable components like doors.
- A simple candle or incense stick can help you locate drafts without specialized equipment.
- Some sealing tasks are straightforward DIY projects; electrical and gas penetrations require a professional.
Why Air Leaks Matter More Than You Think
Most homeowners focus on insulation when trying to reduce energy bills - and insulation is important. But even a well-insulated home can hemorrhage conditioned air through gaps so small they're nearly invisible. According to the U.S. Department of Energy, air leaks can account for a significant share of a home's total heating and cooling load, making weatherproofing one of the highest-return improvements available.
The problem is cumulative. A single gap around a pipe penetration in the attic floor might seem trivial, but dozens of similar gaps add up to the equivalent of leaving a window open year-round. In winter, warm air escapes upward and cold air infiltrates at the basement level - a phenomenon called the stack effect. In summer, the process reverses, pushing humid outdoor air in through low-level gaps. Either way, your HVAC system works harder and your bills reflect it.
Understanding how insulation R-values work is useful context here: insulation slows conductive heat transfer through materials, but it does very little to stop air movement through gaps. Sealing and insulating work best as a pair.
25-40%
Heating/cooling energy lost to air leaks
The U.S. Department of Energy estimates that air infiltration accounts for a substantial portion of total home energy use in typical American households.
$200-$400
Estimated annual savings from sealing and insulating
Energy auditing programs have found that comprehensive air sealing and insulation upgrades can yield meaningful reductions in annual utility costs, though results vary by climate and home size.
1/3
Of heat loss attributed to air leakage vs. walls/roof
Studies on residential energy performance suggest air movement through gaps - rather than conduction through walls - is often a larger driver of heat loss than homeowners expect.
How to Find Air Leaks in Your Home
A professional energy auditor can use a blower door test - which depressurizes the house - to measure total air leakage and pinpoint sources using a smoke pencil or infrared camera. That's the most precise method. But a practical DIY inspection on a cold, windy day can reveal the worst offenders without any equipment at all.
Simple Detection Methods
- Hand test: Run your hand slowly along the perimeter of windows, exterior doors, electrical outlets on exterior walls, and plumbing penetrations. You'll often feel a distinct temperature difference or airflow.
- Candle or incense stick: Hold a lit stick near suspected gaps. Flickering or a horizontal smoke trail indicates moving air.
- Flashlight check at night: Have a helper shine a flashlight around the exterior perimeter while you watch from inside for light showing through cracks.
- Utility bill pattern: If bills spike disproportionately during extreme weather despite normal thermostat settings, that's a strong indirect indicator of significant leakage.
Do your leak inspection on a cold, windy day with the heating running - that pressure differential makes drafts far more detectable than on a calm day.
Start your sealing work at the top and bottom of the house - attic floor and basement rim joists - before touching windows and doors. The payoff per hour of work is significantly higher at those two zones.
The Most Common Leak Locations
Air infiltration doesn't occur randomly. There are predictable hot spots in virtually every home, and targeting these areas first gives you the best return on effort.
Attic Floor and Ceiling Penetrations
The attic is often the single largest source of air leakage. Every pipe, wire, duct, and recessed light that passes through the ceiling plane creates a potential bypass. Interior wall top plates - the framing that sits at the top of interior walls - are also notorious gaps that open directly into the attic. These are often hidden under insulation but can be addressed by pulling it back and applying spray foam or rigid foam board cut to fit.
Rim Joists
The rim joist is the framing member that runs along the perimeter of your floor structure, just above the foundation. It's frequently uninsulated and full of small gaps where the framing meets the sill plate. Foam backer rod and caulk, or cut-to-fit rigid foam board sealed at the edges with spray foam, are standard approaches here.
Windows and Exterior Doors
Window and door frames settle and shift over years. Even windows in good condition can leak air around the frame-to-wall junction rather than through the glass or sash. Check the interior trim - gaps behind it often connect directly to the wall cavity. Exterior doors lose air around the threshold and along the door stop. See our seasonal maintenance walk-through guide for additional overlooked spots that compound these issues.
Electrical Outlets and Switch Plates
Outlets and switches on exterior walls are direct pathways through the wall cavity. Foam gaskets designed for outlet boxes are inexpensive and take about two minutes to install per outlet - among the easiest wins in weatherproofing.
Plumbing and Mechanical Penetrations
Every pipe that exits through an exterior wall or floor, and every duct that passes through a conditioned envelope, is a potential air leak. Gaps around these are typically filled with acoustical sealant, fire-rated caulk (near heat sources), or low-expansion spray foam depending on location.
Choosing the Right Sealing Material
Using the right product for each application makes the difference between a repair that lasts years and one that peels away in a season.
| Material | Best For | Durability |
|---|---|---|
| Acrylic latex caulk | Interior trim, window frames, stationary joints | 10-20 years if paintable surface is painted |
| Silicone caulk | Exterior gaps, areas exposed to moisture | 20+ years; does not accept paint |
| Low-expansion spray foam | Irregular gaps around pipes, rim joists, attic bypasses | Long-lasting; fills voids caulk can't reach |
| Weatherstripping (foam, felt, V-strip) | Door and window sashes, moving parts | Varies by material; 1-10 years |
| Rigid foam board (cut-and-cobble) | Rim joists, large attic bypasses | Decades when sealed at edges |
For caulking technique and common application mistakes, our guide on where caulk jobs go wrong covers the principles that apply across most caulking tasks, not just tubs.
When to Call a Professional
Most weatherproofing tasks - caulking window frames, installing outlet gaskets, stuffing backer rod into door thresholds - are well within reach of a homeowner comfortable with basic tools. A few situations genuinely warrant professional involvement.
- Electrical penetrations in the attic: Recessed lights that aren't rated for insulation contact (IC-rated) require specific air-sealing strategies and can be a fire risk if handled incorrectly. An electrician or energy auditor should assess these.
- Gas lines: Never apply foam or sealant around gas supply lines yourself. Any work near gas penetrations should be performed by a licensed plumber or HVAC technician.
- Whole-house blower door testing: If you want a quantified baseline and a comprehensive map of every leak location, a certified energy auditor provides that assessment. Many utility companies offer subsidized audits.
- Combustion safety: Sealing a home too tightly without ensuring adequate combustion air for furnaces, water heaters, and fireplaces can create backdrafting and carbon monoxide risks. A professional can evaluate combustion appliance zones before and after major sealing work.
Don't Seal Too Tight Without a Plan
Weatherproofing is not a one-time project. Homes shift, materials degrade, and new penetrations are added over time. Building a habit of inspection - particularly before heating and cooling seasons - keeps small gaps from becoming costly ones.
The content provided on our blog site traverses numerous categories, offering readers valuable and practical information. Readers can use the editorial team’s research and data to gain more insights into their topics of interest. However, they are requested not to treat the articles as conclusive. The website team cannot be held responsible for differences in data or inaccuracies found across other platforms. Please also note that the site might also miss out on various schemes and offers available that the readers may find more beneficial than the ones we cover.