
Composting at Home: The Full Picture from Pile to Garden Bed

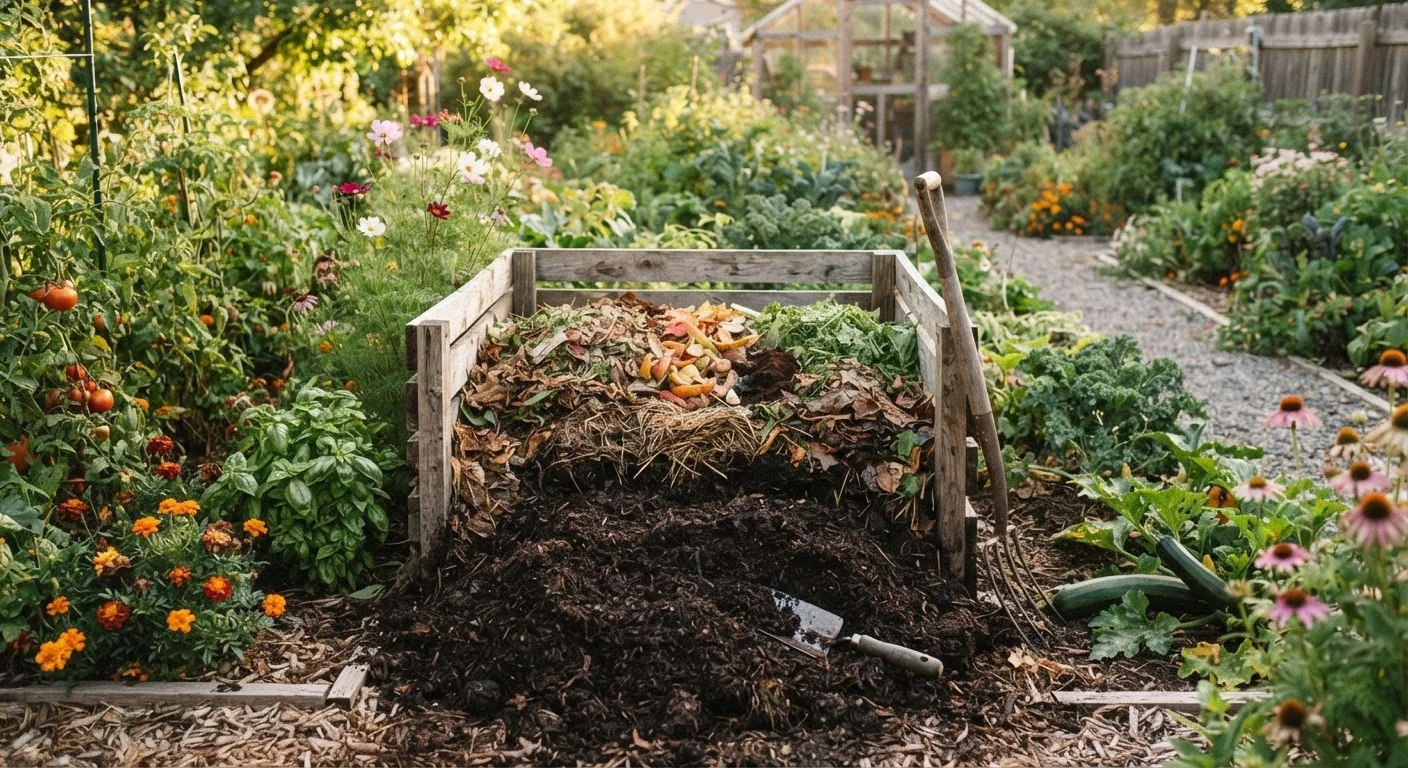
Photo: AnswersVista.com | Trustworthy Information Every Day editorial
Key Takeaways
- Balance 'greens' (nitrogen-rich) and 'browns' (carbon-rich) materials in roughly a 1:3 ratio by volume.
- Moisture and aeration are the two variables that determine how fast your pile breaks down.
- Finished compost smells earthy and crumbles like dark, loose soil - not like rotting food.
- Compost improves sandy and clay soils alike by boosting organic matter and beneficial microbial activity.
- Avoid adding meat, dairy, oils, pet waste, or diseased plants to prevent odors and pathogens.
- Mature compost can be applied to garden beds, lawns, and containers as a top-dressing or soil amendment.
Why Composting Is Worth the Effort
Composting converts organic waste - vegetable scraps, yard trimmings, cardboard - into a stable, humus-rich material that measurably improves soil structure and fertility. It isn't a gardening trend; it's a practice with decades of research behind it. The U.S. EPA estimates that food and yard waste together account for a significant portion of municipal solid waste, and home composting directly reduces that stream while producing something genuinely useful for your yard.
The benefits extend beyond the compost bin. Adding finished compost to garden beds increases water retention in sandy soils, improves drainage in clay-heavy soils, and feeds the microbial communities that make nutrients available to plant roots. If you're starting a vegetable garden, building a compost habit at the same time gives you a renewable source of soil amendment that no bag of fertilizer can fully replicate.
~30%
Of household waste that can be composted
The U.S. EPA estimates food scraps and yard trimmings together make up about 30% of what Americans throw away.
1-3 months
Time to finished compost (active management)
Regularly turned, properly moistened piles can produce usable compost in as little as four to eight weeks under ideal conditions.
3:1
Browns-to-greens ratio by volume
This general guideline, widely cited by cooperative extension programs, supports efficient aerobic decomposition without odor or slime.
What to Add (and What to Keep Out)
Compost ingredients are typically divided into two categories:
- Greens (nitrogen-rich): Fruit and vegetable scraps, coffee grounds and filters, fresh grass clippings, houseplant trimmings, and eggshells.
- Browns (carbon-rich): Dry leaves, cardboard torn into small pieces, paper bags, straw, wood chips, and paper towels.
A functional pile needs both. Too many greens and it becomes slimy and foul-smelling. Too many browns and decomposition stalls. A general rule of thumb is roughly one part greens to three parts browns by volume - though this doesn't need to be precise. As you add materials, alternate layers rather than dumping everything in at once.
What Not to Compost
Keep these out entirely: meat, fish, bones, dairy, cooking oils, pet or human waste, diseased plant material, and anything treated with persistent pesticides. These either attract pests, introduce pathogens, or resist decomposition in ways that compromise your finished product.
Setting Up Your Compost System
You don't need elaborate equipment to compost well. The options range from a simple open pile in a corner of the yard to enclosed bins, tumblers, or worm bins (vermicomposting) for smaller spaces. Choose based on how much material you generate and how fast you want results.
Open Pile or DIY Bin
An open pile at least 3 feet × 3 feet × 3 feet gives microbes enough mass to generate heat - the engine of decomposition. A simple three-sided enclosure built from pallets or wire mesh keeps things tidy and helps retain moisture. This approach handles large volumes and works well for homeowners with significant yard waste.
Enclosed Tumbler
Tumblers make turning easy (you rotate a drum rather than using a pitchfork), and their enclosed design discourages rodents. They tend to produce compost faster in warm weather because heat builds quickly inside, but they hold less volume than a ground-level pile.
Indoor or Small-Space Options
Vermicomposting - composting with red wiggler worms - works in a container small enough for a garage or even a shaded porch. Worms process food scraps quickly and produce worm castings, a particularly concentrated form of compost. If your garage is already getting organized, it may be worth carving out a corner; see our garage organization guide for ideas on making the most of that space.
Managing Your Pile Day to Day
Three factors drive decomposition: moisture, oxygen, and particle size. Keeping all three in check is the bulk of ongoing compost management.
Moisture
Your pile should feel like a wrung-out sponge - damp but not dripping. In dry climates or summer heat, you may need to add water occasionally. In rainy seasons, covering the pile or placing a lid on your bin prevents waterlogging.
Aeration
Microbes need oxygen. Turning the pile - moving material from the outside toward the center - introduces fresh air and speeds decomposition significantly. Turning once or twice a week produces finished compost in one to three months. Turning monthly, results arrive in four to six months. A pile left completely undisturbed can take a year or more, but it will still eventually break down (called cold composting).
Particle Size
Smaller pieces decompose faster because microbes have more surface area to work on. Chop or shred materials when practical - tear cardboard into hand-sized pieces, run a mower over leaves before adding them.
Keep a small container with a tight-fitting lid on your kitchen counter for collecting scraps. Empty it into the compost bin every two to three days to prevent odor buildup indoors.
Save a stockpile of dry leaves each fall in a bag or bin next to your compost. Having browns on hand year-round means you can balance every batch of kitchen scraps immediately.
Troubleshooting Common Composting Problems
Most compost issues resolve by adjusting just one or two variables.
| Problem | Likely Cause | Fix |
|---|---|---|
| Pile smells like ammonia | Too many greens | Add browns (dry leaves, cardboard) and turn |
| Pile smells like rotten eggs | Too wet or not enough oxygen | Turn the pile and add dry browns to absorb moisture |
| Pile is not heating up | Too dry, too many browns, or pile too small | Add water and green materials; consolidate into a larger mass |
| Pile is attracting pests | Food scraps exposed at the surface | Bury new scraps in the center; switch to an enclosed bin |
| Material not breaking down | Pieces too large or pile too cold | Shred materials; in cold weather, insulate with straw or move to a bin |
Patience is part of the process. Even a neglected pile will produce compost eventually - active management just speeds the timeline.
Applying Finished Compost to Your Garden
Finished compost is dark, crumbly, and smells like fresh earth - not like the original food scraps or yard waste you started with. If you can identify chunks of what went in, it needs more time.
How to Use It
- Garden beds: Work 2-4 inches of compost into the top 6-8 inches of soil before planting, or apply as a top-dressing around existing plants and let it work in gradually.
- Lawn: Spread a thin layer (¼ to ½ inch) over turf and rake it in - this is called topdressing and improves soil structure beneath grass over time.
- Containers and raised beds: Mix compost with potting mix to improve drainage and add organic matter. If you're weighing raised beds versus in-ground planting, compost is one of the most cost-effective ways to build up either system.
- Seed starting: Use well-finished, screened compost sparingly - too much in a seed-starting mix can overwhelm young seedlings.
Compost is not a fast-release fertilizer; it feeds plants and soil biology steadily over months. Pairing it with the right mulch on top extends its benefits by reducing moisture loss and moderating soil temperature. Combined, they form the foundation of genuinely healthy garden soil - the kind that makes everything easier to grow.
The content provided on our blog site traverses numerous categories, offering readers valuable and practical information. Readers can use the editorial team’s research and data to gain more insights into their topics of interest. However, they are requested not to treat the articles as conclusive. The website team cannot be held responsible for differences in data or inaccuracies found across other platforms. Please also note that the site might also miss out on various schemes and offers available that the readers may find more beneficial than the ones we cover.